

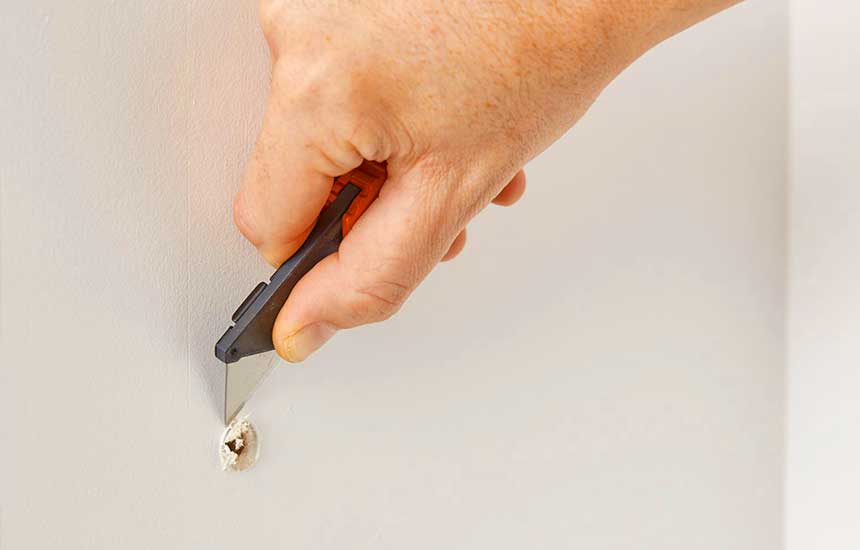
How to Repair Small Holes in Drywall
Small holes in drywall can usually be repaired with lightweight spackle or a suitable joint compound. The correct method depends on the size of the hole, whether the surrounding drywall is solid, and whether the damaged area is near electrical wiring or plumbing.
A tiny nail hole requires little more than filler and a putty knife. A larger hole may need reinforcing mesh or a drywall patch.
Tools and Materials
You may need:
-
Lightweight spackle or drywall joint compound
-
A putty knife
-
Fine-grit sandpaper or a sanding sponge
-
A clean cloth
-
Primer and matching wall paint
-
A drywall patch for larger holes
-
Safety glasses and a dust mask for sanding
Before cutting or drilling into a wall, consider what may be behind it. Avoid work near electrical outlets, switches, plumbing, or suspected wiring unless you can establish that the area is safe.
Step 1: Clean the Damaged Area
Remove loose paper, crumbling gypsum, and loose paint around the hole. Do not enlarge the damage unnecessarily.
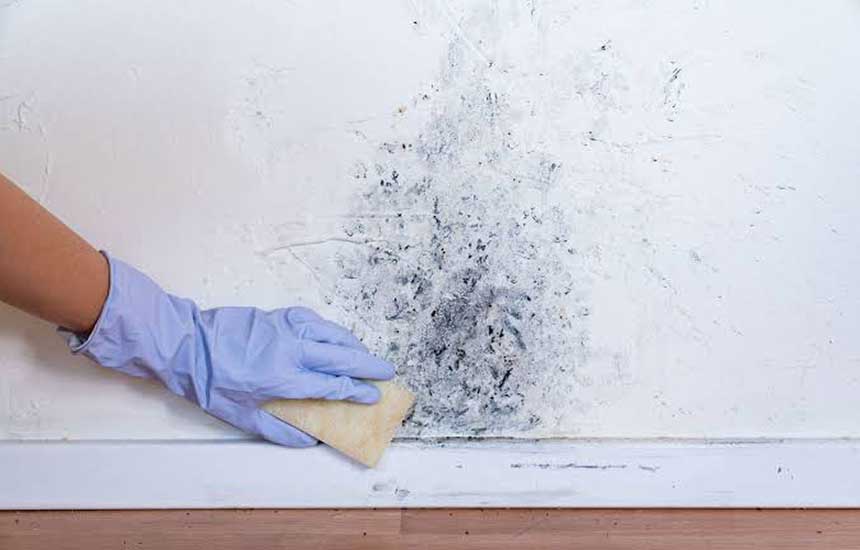
Wipe away dust and allow the surface to dry. If the drywall is damp, soft, or swollen, find the moisture source before attempting a cosmetic repair.
Step 2: Fill Small Nail and Screw Holes
For a shallow hole approximately the size of a nail head:
-
Apply a small amount of lightweight spackle with a putty knife.
-
Press the material into the hole.
-
Scrape away excess filler so it sits nearly flush with the wall.
-
Allow it to dry according to the product label.
-
Apply a second thin coat if the filler shrinks or leaves a depression.
Avoid applying a thick mound of filler. Thin coats generally dry more evenly and require less sanding.
Step 3: Repair a Small Hole From a Wall Anchor
Remove the loose anchor if it can be extracted safely without causing additional damage. If the anchor cannot be removed easily, follow the filler or patch manufacturer’s instructions for handling it.
Clean the opening and fill it with an appropriate repair compound. Larger or deeper holes may need multiple applications or a reinforced patch.
Do not simply cover a protruding anchor with paint. The repair may remain visible or crack later.
Step 4: Patch a Larger Hole
A hole too large for ordinary spackle may require a self-adhesive mesh patch or a more substantial drywall patch.
For a suitable mesh patch:
-
Prepare the surface according to the patch instructions.
-
Center the patch over the hole and press it firmly into place.
-
Spread joint compound over the patch, feathering the edges outward.
-
Allow the first coat to dry completely.
-
Apply additional thin coats as needed.
-
Sand gently when the compound is fully dry.
A large hole, a damaged corner, or an area with broken drywall edges may require a fitted piece of drywall supported by backing strips. Follow an appropriate patching method rather than relying on a thin layer of filler.
Step 5: Sand, Prime, and Paint
Once the repair is completely dry, sand it gently until the transition between the patch and the wall is smooth.
Remove sanding dust before applying primer. A suitable primer helps prevent the repaired area from absorbing paint differently from the surrounding wall.
After the primer dries, apply matching paint. Depending on the existing finish, you may need to repaint a larger section to achieve a consistent appearance.
Common Problems
The filler shrinks: Apply another thin coat after the first has dried.
The patch remains visible: Feather the compound farther out, remove sanding dust, and prime before painting.
The repair cracks: Check whether the hole needs reinforcement or whether the wall is moving.
The paint looks different: The existing paint may have faded or have a different sheen. Repainting the entire wall may provide a more consistent result.
Frequently Asked Questions
Can I use toothpaste to fill drywall holes?
Toothpaste is not a durable drywall repair material. Use a suitable spackle or joint compound.
Do I need primer after patching?
Primer is recommended because exposed filler can absorb paint differently from the surrounding surface.
How long does drywall filler take to dry?
Drying time depends on the product, application thickness, temperature, and humidity. Follow the manufacturer’s label rather than assuming every filler dries within the same period.
Final Advice
Use the smallest repair method that suits the damage. Clean the area, apply the right filler, allow adequate drying time, and finish with sanding, primer, and paint.