

How to Fix a Loose Cabinet Door Hinge
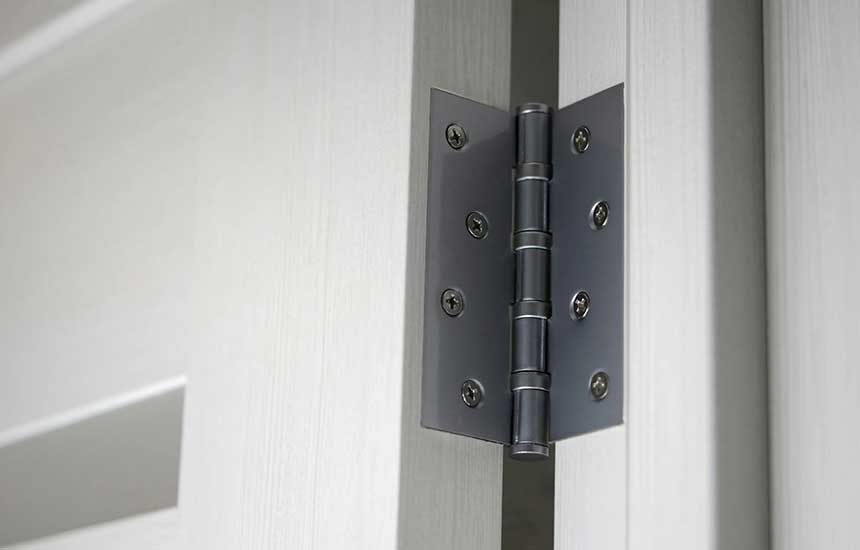
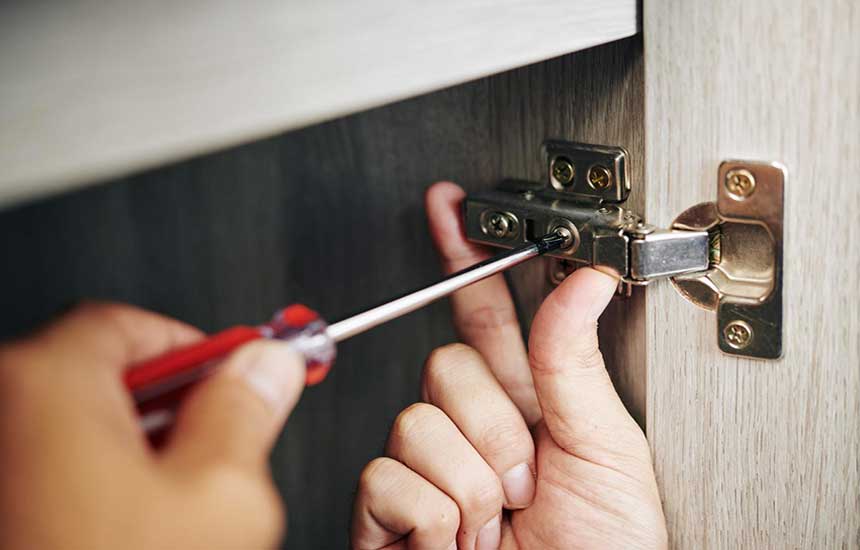
A loose cabinet door hinge is often caused by screws that have worked themselves out, worn screw holes, or a hinge that needs adjustment. Start by tightening the existing screws. If a screw turns without gripping the wood, the hole may be stripped and will need a more durable repair.
Most loose cabinet hinges can be repaired with a screwdriver and a few basic materials. The correct method depends on whether the hinge is attached to solid wood, particleboard, MDF, or another cabinet material.
What You Need
Gather these items before starting:
-
A screwdriver that fits the hinge screws
-
A small level, if available
-
A flashlight
-
Wood glue and wooden toothpicks or suitable wood plugs for small stripped holes in solid wood
-
A drill and appropriately sized repair hardware, if necessary
-
A helper to support a heavy door
Do not use a drill with excessive torque on fragile cabinet materials. It can enlarge the hole or damage the cabinet.
Step 1: Identify Why the Hinge Is Loose
Open the cabinet door and inspect both the cabinet-side mounting plate and the door-side hinge screws.
Check for these common problems:
-
Loose screws: The screw heads are raised, and the screws tighten normally when turned.
-
Stripped screw holes: A screw rotates but does not become tight.
-
Damaged hinge: The hinge arm is bent, cracked, or excessively worn.
-
Misaligned door: The screws are secure, but the door rubs against another door or sits unevenly.
-
Damaged cabinet material: The mounting area is cracked, swollen, or crumbling.
Identifying the actual cause prevents repeated tightening that does not solve the problem.
Step 2: Tighten the Screws
Support the door with one hand or ask another person to hold it. Use the correct screwdriver to tighten each accessible hinge screw gently.
Turn the screw clockwise until it is snug. Stop when it is secure; overtightening can strip the hole again.
Open and close the door slowly. If it no longer moves excessively or sags, the repair may be complete.
If the screw continues to spin, proceed to the next step instead of forcing it.
Step 3: Repair a Stripped Screw Hole
The repair depends on the cabinet material.
For a small stripped hole in solid wood
-
Remove the loose screw.
-
Check that the surrounding wood is sound and dry.
-
For a small hole, fit a few wooden toothpicks or a suitable wood sliver into the hole with wood glue.
-
Allow the adhesive to cure according to its label.
-
Trim any excess material flush with the surface.
-
Reinstall the original screw carefully, provided the repaired hole is suitable for it.
For larger or badly damaged holes, a properly fitted wood plug or a purpose-made repair method may be more reliable.
For particleboard or MDF
These materials can crumble when a screw hole becomes enlarged. Toothpicks may provide only a temporary repair.
Depending on the damage, options include a purpose-made cabinet hinge repair plate, suitable replacement hardware, or relocating the mounting point where the cabinet design allows it. Confirm that the repair plate fits the hinge and that new screws will not break through the cabinet panel.
If the mounting area is swollen from water damage or severely crumbling, replacing or professionally repairing the damaged section may be necessary.
Step 4: Adjust the Door Alignment
Many modern concealed hinges have adjustment screws.
Depending on the hinge design, these may control:
-
Side-to-side movement
-
In-and-out positioning
-
Vertical positioning, often by adjusting the mounting plate
Make small adjustments and check the door after each one. Not all hinges use the same screw arrangement, so consult the hinge manufacturer’s instructions if the adjustment points are unclear.
For more guidance, see cabinet hinge adjustment and common cabinet door alignment problems.
Step 5: Test the Repair
Close the door slowly and check that:
-
The door does not sag noticeably.
-
The gap around the door is reasonably even.
-
The door does not rub against adjacent doors.
-
The hinge remains firmly attached.
-
The screws do not loosen during normal opening and closing.
If the door remains unstable, remove unnecessary weight from it and inspect the hinge mounting area again.
Common Mistakes to Avoid
Overtightening screws: This can damage the threads or enlarge the hole.
Using a longer screw without checking what is behind the panel: The screw could penetrate the cabinet interior or interfere with nearby components.
Ignoring water damage: Swollen or crumbling material will not reliably hold a hinge screw.
Replacing the hinge before checking the mounting holes: The hinge itself may be in good condition.
When Should You Replace the Hinge?
Replace the hinge if it is bent, cracked, badly corroded, or unable to hold its adjustment. Choose a replacement compatible with the door overlay, opening angle, mounting style, and cabinet construction.
If several hinges are loose because the cabinet panel itself is failing, replacing only the hardware is unlikely to provide a lasting repair.
Frequently Asked Questions
Why does my cabinet door keep coming loose?
The screw holes may be stripped, the screws may be unsuitable, or the cabinet material may be damaged. Repeatedly tightening a stripped screw will not restore a reliable grip.
Can I use wood glue to fix a loose cabinet hinge?
Wood glue may help secure a small wooden filler in a stripped hole in solid wood. It is not a universal repair for particleboard, MDF, or damaged mounting plates.
Should I replace all the cabinet hinges?
Not necessarily. Replace only damaged or incompatible hinges unless the remaining hinges are also worn or unreliable.
Final Advice
A loose cabinet door hinge is usually a manageable DIY repair when the surrounding cabinet material is sound. Tighten screws first, repair stripped holes using a method appropriate for the material, and adjust the door only after the hinge is secure.