

How to Choose the Right Caulk for Bathroom Repairs
The best caulk for a bathroom repair depends on the joint location, the materials being joined, exposure to water, and whether the joint needs to remain flexible. For many joints around bathtubs, showers, and sinks, a bathroom-rated silicone sealant is a common choice. Paintable acrylic latex caulk may be more appropriate for certain trim and wall joints that are not continuously exposed to water.
No single sealant is suitable for every bathroom joint.
Understand the Main Types of Caulk
1. Silicone sealant
Bathroom-rated silicone is commonly used around tubs, showers, sinks, and other joints that need flexibility and water resistance.
Advantages include good flexibility and resistance to moisture. Limitations include the fact that ordinary silicone is generally not paintable, and adhesion depends on surface preparation and product compatibility.
Choose a product specifically rated for the intended bathroom application.
2. Acrylic latex caulk
Acrylic latex caulk is often suitable for trim, painted surfaces, and small gaps in areas that are not continuously wet.
Many products are paintable and relatively easy to clean up with water before curing. However, not all acrylic caulks are designed for prolonged exposure to water or large amounts of movement.
Read the label before using one near a tub or shower.
3. Specialized hybrid sealants
Some hybrid polymer products are designed to combine flexibility, adhesion, and compatibility with multiple materials. Their performance varies by formulation.
Check the technical data sheet for approved substrates, water exposure, paintability, and curing requirements.
Match the Sealant to the Location
| Bathroom location | What to look for |
|---|---|
| Bathtub-to-wall joint | Bathroom-rated, flexible sealant compatible with the tub and wall materials |
| Shower enclosure | Sealant approved for the specific enclosure materials and wet-area application |
| Sink-to-countertop joint | Product compatible with the sink, countertop, and expected water exposure |
| Painted trim | Paintable caulk suitable for the gap and surrounding finish |
| Tile movement joint | A sealant specifically suited to the joint design and tile system |
For tile installations, some joints require a specialized movement-joint sealant rather than ordinary grout. Follow the tile system manufacturer’s instructions.
Step 1: Identify the Materials
Determine whether the joint connects ceramic tile, glass, acrylic, fiberglass, natural stone, metal, painted wood, or another material.
Some sealants may stain natural stone, fail to adhere to certain plastics, or damage sensitive finishes. Verify compatibility before purchasing.
Step 2: Check Water Exposure and Movement
A joint that stays wet and moves slightly needs a different product from a dry gap between painted trim and a wall.
Check the packaging for the intended service conditions, allowable joint width, movement capability, and curing requirements.
Do not choose caulk based only on the words “all-purpose” or “waterproof.”
Step 3: Remove Failed Sealant
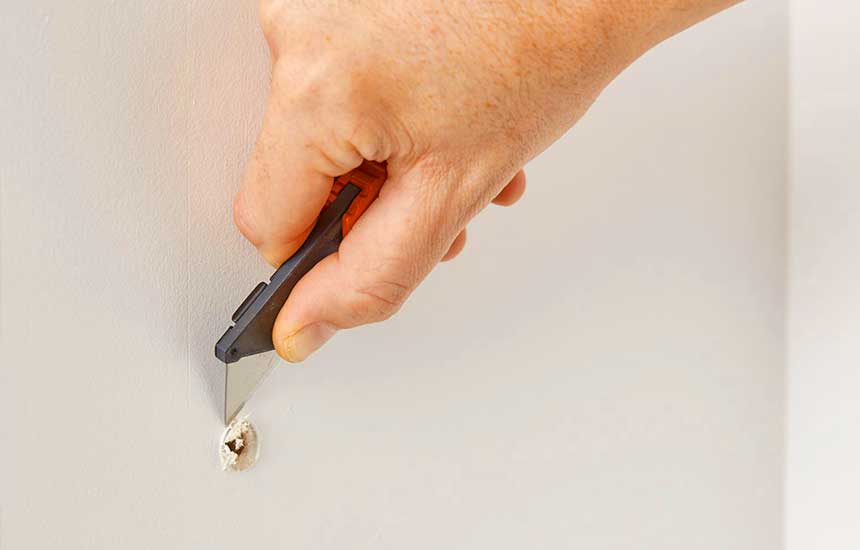
If replacing old caulk, remove the failed material carefully using an appropriate scraper or removal tool. Avoid damaging the tub, tile, countertop, or waterproofing system behind the joint.
Remove residue according to the sealant manufacturer’s instructions. The new product must be compatible with the surface and any remaining material.
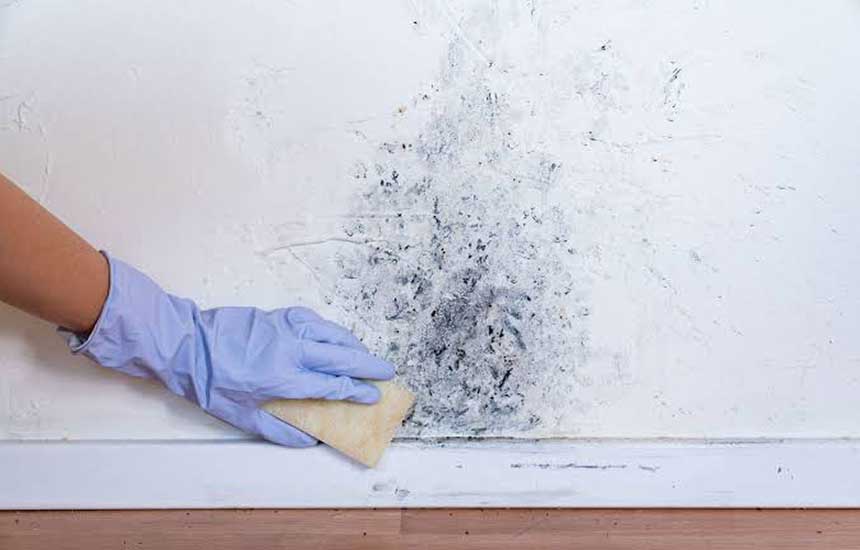
If the substrate is moldy, wet, soft, or damaged, resolve that problem before resealing.
Step 4: Prepare the Surface
The surface should be clean and prepared as directed by the product label. Many sealants require a dry surface, although some specialized products permit application under different conditions.
Use masking tape to create neat edges if needed. Do not apply a new bead over loose, dirty, or incompatible old sealant.
Step 5: Apply and Cure the Sealant
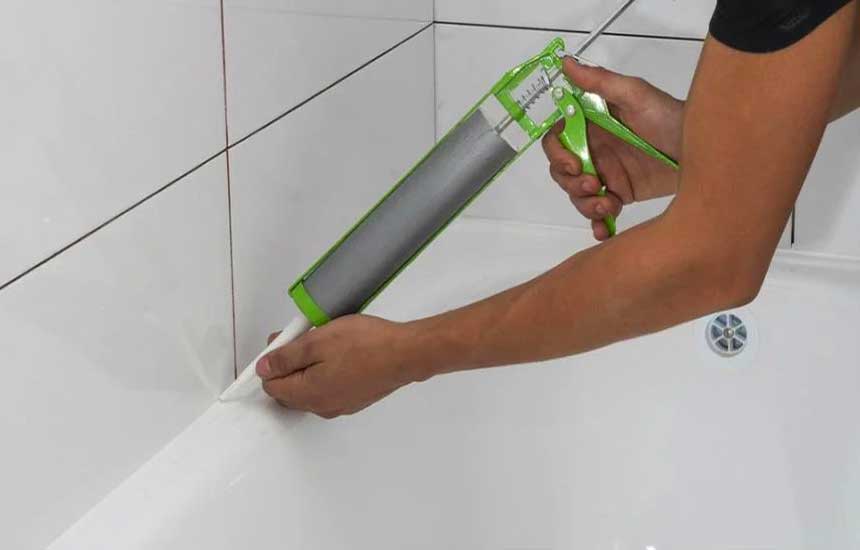
Cut the nozzle to suit the joint width and apply a continuous bead without leaving gaps. Smooth it using a method approved by the manufacturer.
Remove masking tape before the sealant skins over, if the product instructions permit this technique.
Allow the sealant to cure for the specified time before exposing it to water. Surface drying does not necessarily mean the sealant has cured through its full thickness.
Common Mistakes to Avoid
- Using ordinary paintable caulk in a continuously wet joint.
- Applying new sealant over failing old material.
- Ignoring substrate compatibility.
- Exposing the joint to water too early.
- Assuming mold-resistant sealant eliminates the need for ventilation and moisture control.
Frequently Asked Questions
Is silicone better than acrylic caulk in a bathroom?
For many wet-area joints, bathroom-rated silicone is appropriate because of its flexibility and water resistance. Acrylic latex can be better for certain paintable trim joints. The intended application determines the correct choice.
Can I paint over silicone caulk?
Ordinary silicone is generally not paintable. If the joint must be painted, choose a compatible paintable sealant and confirm its wet-area suitability.
How long does bathroom caulk take to cure?
Curing time depends on the product, bead thickness, temperature, humidity, and substrate. Follow the manufacturer’s instructions and do not rely solely on the surface feeling dry.
Should I caulk over moldy sealant?
No. Remove failing sealant, address any contamination safely, allow the joint to dry as required, and investigate the moisture source before applying a replacement.
Final Advice
Choose bathroom caulk by joint location, material compatibility, water exposure, and movement. Read the technical data sheet, prepare the surface correctly, and allow the full recommended cure time before using the shower or tub.