

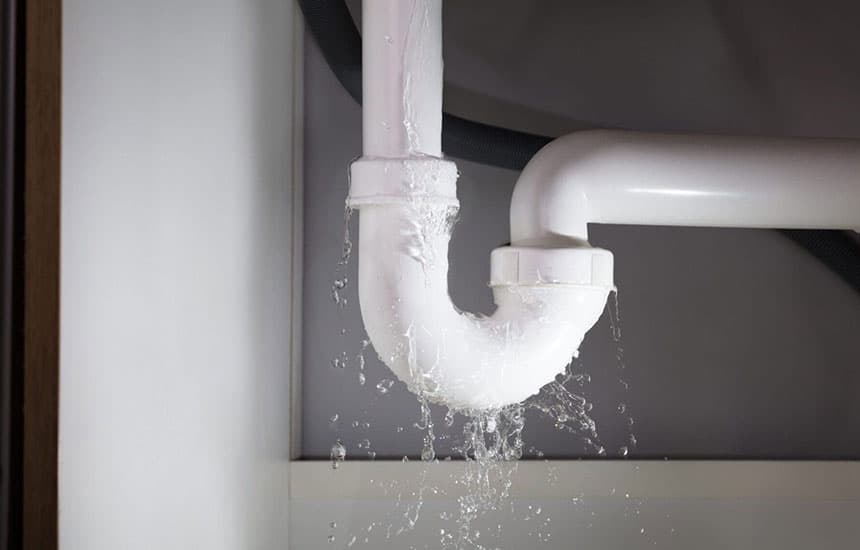
A Small Puddle Can Point to Several Different Problems
Water collecting inside the cabinet below a kitchen sink does not automatically mean the drain pipe is broken. The water may come from a supply connection, the faucet, the drain assembly, the garbage disposal, or even condensation on a cold pipe.
Finding the source before tightening fittings or replacing parts can save time and prevent unnecessary repairs. The useful trick is to dry the area first, then check one component at a time.
What You Need Before Checking
Prepare a flashlight, a few dry paper towels, a shallow container, and a dry cloth. If the cabinet is crowded, remove cleaning products and other stored items so you can see the pipe connections.
If water is near an electrical outlet, disposal wiring, or an appliance connection, avoid touching wet electrical components. Turn off the relevant power at the breaker if it is safe to do so, and get qualified help when necessary.
Step 1: Dry the Cabinet Completely
Remove standing water and wipe the cabinet floor, pipe surfaces, and nearby walls. Leave the area dry for a few minutes.
This matters because old water can travel along the cabinet base and collect far from the actual leak. A puddle at the front of the cabinet may have started at a connection near the back.
Place a dry paper towel under each likely source. Separate towels make it easier to identify which area becomes wet first.
Step 2: Check the Water Supply Lines
Look at the two flexible hoses or pipes that supply hot and cold water to the faucet.
Inspect:
- The shutoff valves near the wall
- The hose connections at the valves
- The connections beneath the faucet
- Any visible cracks, corrosion, or mineral deposits
Touch the outside of each connection with a dry paper towel. If the towel becomes wet while the faucet is not running, the leak may be on the pressurized supply side.
Do not force a corroded valve or connection. An old shutoff valve can break or begin leaking when disturbed.
Step 3: Test the Drain While Running Water
If the supply connections remain dry, place a shallow container beneath the drain trap. Run cold water into the sink for a short period, then inspect the drain pipe and joints.
Pay particular attention to:
- The connection directly below the sink strainer
- Slip-joint nuts
- The curved P-trap
- The pipe entering the wall
- Connections around a garbage disposal or dishwasher drain hose
A leak that appears only while water is draining is more likely to involve the drain assembly than the faucet supply.
If the pipe leaks at a joint, do not assume that tightening it as hard as possible will solve the problem. Plastic fittings can crack, and misaligned washers may continue leaking even when the nut is tight.
Step 4: Check the Faucet Base and Sink Rim
Water can run down the faucet body or around the sink rim and eventually reach the cabinet below.
Dry the area around the faucet base. Turn on the faucet and watch for water running down the back of the sink. Also check the seal between the sink and countertop.
If the cabinet becomes wet only when water splashes onto the countertop, the problem may be a failed seal rather than a pipe leak.
Step 5: Consider Condensation
Cold water pipes can collect moisture when warm, humid air meets a cold surface. This usually appears as a thin film or droplets spread over part of the pipe rather than water emerging from one connection.
Dry the pipe and observe it again. If moisture returns across a broad section, condensation is possible. If a single joint becomes wet first, investigate that connection instead.
A Quick Way to Narrow Down the Source
| When the water appears | What to inspect first |
|---|---|
| Even when nobody uses the sink | Supply lines and shutoff valves |
| Only while water drains | Strainer, trap, drain joints |
| When the faucet is running | Faucet body, supply lines, drain |
| After splashing water on the counter | Sink rim and faucet base |
| As droplets across a cold pipe | Condensation |
These clues help narrow the search, but they are not a substitute for inspecting the actual leak.
When to Stop and Call a Plumber
Get professional help if a shutoff valve is badly corroded, a pipe is cracked, water is entering a wall or floor, the leak continues after the source is isolated, or you cannot safely identify the problem.
If the leak is substantial, close the appropriate shutoff valve. If you cannot identify which valve controls the leak, use the home’s main water shutoff if you can reach it safely.
Do not ignore swollen cabinet panels, persistent dampness, or a musty smell. Water damage can continue after the visible puddle has disappeared.
Frequently Asked Questions
Why is my kitchen sink cabinet wet but the pipes look dry?
Water may be running along the underside of the sink, cabinet wall, or pipe before collecting on the floor. Dry each area separately and use paper towels to identify where moisture first appears.
Can I use plumber’s tape to stop a leak under the sink?
Not every connection uses threaded pipe joints that require thread-sealing tape. Many sink drain fittings rely on washers, while supply connections may use specific sealing designs. Identify the fitting type before applying any sealant.
Should I replace the entire P-trap if it leaks?
Not necessarily. A loose, misaligned, damaged, or incorrectly seated washer may be responsible. If the pipe is cracked or badly deteriorated, replacement may be appropriate.
Is a slow leak under the sink dangerous?
It can damage cabinet materials, flooring, and nearby building components. A slow leak should be investigated promptly rather than left until a larger puddle appears.
Final Advice
The fastest way to find a sink leak is not to tighten every connection. Dry the cabinet, separate the possible sources, and observe when the first new moisture appears. That simple process helps distinguish a supply leak from a drain problem, faucet leak, or condensation.