

Cold air entering around a window in winter or warm air leaking into a room in summer can make indoor spaces uncomfortable. These drafts may also increase heating and cooling demand.
The problem is not always caused by the window glass. Air can enter through gaps between the window frame and wall, worn weatherstripping, poorly sealed joints, or damaged window components.
Before applying sealant, identify exactly where the air is coming from. This guide explains how to inspect windows, choose suitable materials, and seal common gaps safely.
1. Identify the Signs of Window Air Leaks
Common signs include:
- A noticeable draft near the window.
- Curtains or lightweight objects moving when the window is closed.
- Dust entering around the frame.
- Uneven indoor temperatures near the window.
- Visible gaps, cracked caulk, or damaged seals.
- Water staining or moisture around the frame.
Condensation on glass does not automatically mean there is an air leak. It can also result from indoor humidity, cold glass surfaces, or insufficient ventilation.
2. Find Where the Air Is Entering
Inspect the entire window, not just the visible glass.
Check the sash and frame
The sash is the movable part of the window. Close and lock it, then inspect the edges where it meets the frame.
Look for worn seals, damaged weatherstripping, loose fittings, or areas where the sash does not close evenly.
Inspect the frame-to-wall joint
Look around the perimeter where the window frame meets the surrounding wall. Cracked or missing caulk may allow air and moisture to pass through.
Examine the sill and corners
The lower corners and sill can contain small gaps that are difficult to notice from a distance. Check for deteriorated sealant, damaged trim, or signs of water entry.
Use a simple draft test
On a calm day, hold a thin strip of tissue near the closed window edges. Movement may indicate airflow.
For a more controlled test, a professional can use diagnostic equipment such as a blower door or smoke pencil. Avoid using open flames to locate drafts.
3. Choose the Right Sealing Material
Different gaps require different materials. Using the wrong product can prevent the window from operating correctly or create moisture problems.
| Material | Typical use | Important consideration |
|---|---|---|
| Foam weatherstripping | Small gaps around movable window parts | Choose the correct thickness and compression |
| Rubber or silicone weatherstripping | Repeated contact between sash and frame | Must suit the window profile |
| Exterior-grade caulk | Fixed joints exposed to outdoor conditions | Check substrate compatibility and weather rating |
| Interior caulk | Small gaps around interior trim | Not a replacement for exterior weather protection |
| Backer rod | Deeper joints before caulking | Must be sized correctly for the joint |
Read the product instructions for surface preparation, temperature limits, curing time, and indoor or outdoor suitability.
4. How to Seal Air Leaks Around a Window
Step 1: Clean and inspect the area
Remove loose dirt and debris. Identify whether the gap is around a movable sash or a fixed frame joint.
Do not seal drainage openings or weep holes. These openings are designed to let water escape from certain window systems.
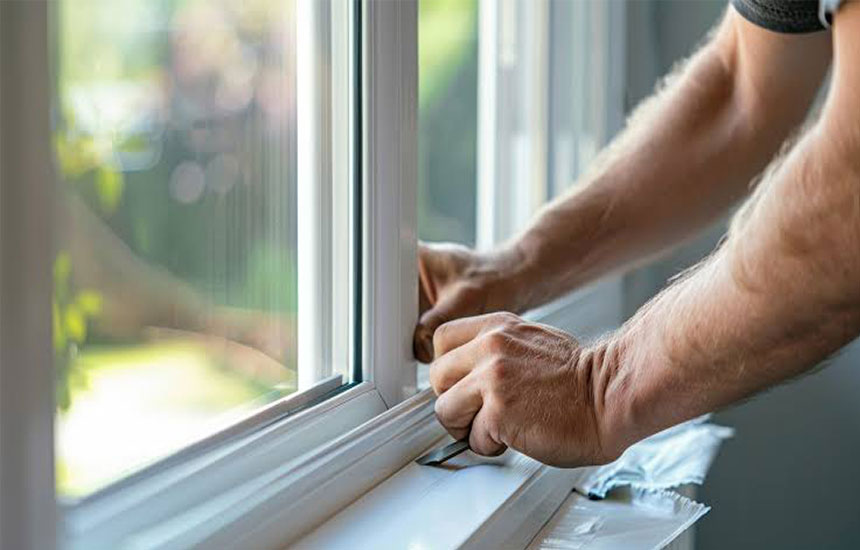
Step 2: Remove damaged sealant
If old caulk is cracked or detached, remove the loose material carefully with an appropriate tool.
Avoid scratching the window frame, damaging surrounding finishes, or cutting into concealed membranes.
Step 3: Prepare the surface
Make sure the joint is clean and dry as required by the sealant instructions. Some products require primer on particular surfaces.
Step 4: Apply suitable weatherstripping
For movable sash gaps, use weatherstripping designed for the window type.
Measure the gap and select a suitable profile. Weatherstripping that is too thick may prevent the window from closing or locking correctly.
Step 5: Seal fixed frame joints
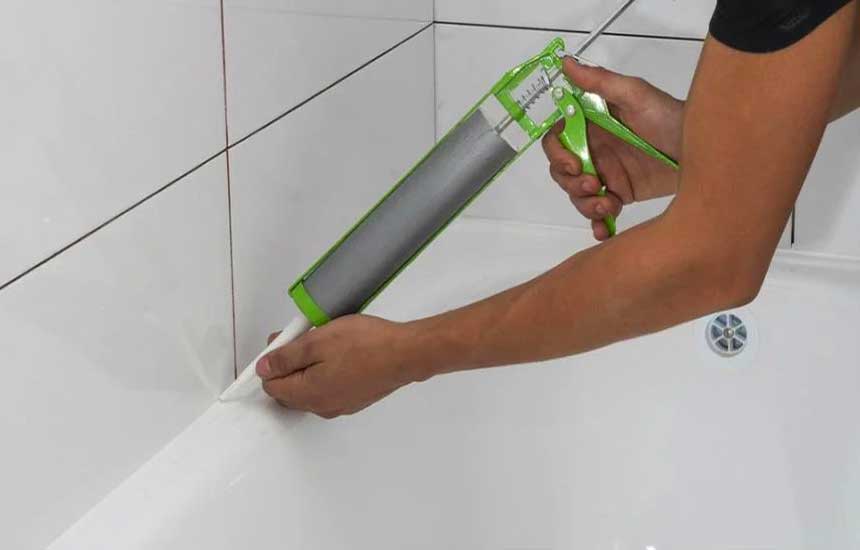
Apply compatible caulk to suitable fixed joints between the frame and surrounding finish.
Use a steady application and smooth the bead according to the product instructions. Do not block drainage channels or cover moving parts.
Step 6: Allow the material to cure
Follow the stated curing time before exposing the sealant to water or operating the window if the instructions require a waiting period.
Step 7: Test the window
Close and lock the window. Check that it moves normally, the seals make proper contact, and the original drainage features remain open.
5. Common Window Sealing Mistakes
- Applying caulk over dirty or wet surfaces.
- Using exterior sealant on movable parts.
- Choosing weatherstripping that is too thick.
- Blocking drainage or weep holes.
- Sealing over signs of water damage without fixing the underlying problem.
- Covering ventilation openings designed into the building.
- Assuming every draft comes from the window itself.
If a window frame is distorted, glass is damaged, or water is entering the wall, simple weatherstripping may not solve the problem.
6. When Should You Call a Professional?
Seek professional advice when:
- The frame is loose, warped, or visibly damaged.
- Water leaks continue after basic sealing.
- There is persistent mold or dampness around the window.
- The window cannot lock or close correctly.
- The gap is large or appears to involve the wall structure.
- The window is high above ground and difficult to access safely.
Frequently Asked Questions
Can I use ordinary silicone to seal every window gap?
No. Different joints require different sealants. Choose a product compatible with the frame material, surrounding surface, exposure conditions, and movement of the joint.
Should I seal the inside or outside of a window?
It depends on the window design and the source of the leak. Some joints require exterior weather protection, while interior trim gaps may need separate treatment. Do not seal drainage paths or create a moisture trap.
How often should window weatherstripping be replaced?
Inspect it periodically. Replace it when it becomes cracked, flattened, detached, brittle, or unable to make proper contact.
Can sealing windows reduce energy use?
Sealing unwanted air leaks can improve comfort and may reduce heating or cooling demand. Actual savings depend on the size of the leaks, climate, insulation, and overall building condition.
Final Advice
Start by locating the exact source of the draft. Use weatherstripping for suitable movable joints and compatible caulk for fixed gaps. Good surface preparation and correct material selection are more important than applying a large amount of sealant.
If the window has structural damage or persistent moisture problems, address the underlying cause before attempting a cosmetic repair.