

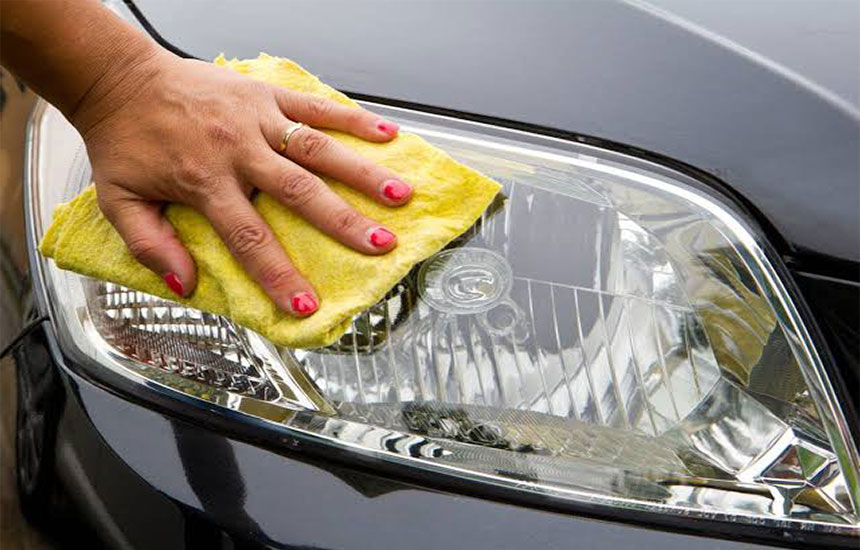
Cloudy or yellowed headlights can reduce the amount of light reaching the road and make a vehicle look older. The problem is often caused by deterioration of the protective coating on plastic headlight lenses, exposure to ultraviolet light, road debris, and environmental contamination.
Cleaning the outside of the lens may improve its appearance, but ordinary washing cannot always remove oxidation or surface damage.
This guide explains how to identify the problem, choose an appropriate restoration method, and maintain headlight clarity.
1. Why Do Headlights Become Cloudy?
Many modern vehicles use polycarbonate plastic headlight lenses. These lenses are lightweight and impact-resistant, but their exterior surfaces can deteriorate over time.
Common causes include:
- Ultraviolet exposure.
- Oxidation of the outer surface.
- Road grit and small scratches.
- Chemical contamination.
- Poor previous repairs or incompatible cleaning products.
- Damage to the protective coating.
Cloudiness can also originate inside the headlight assembly. Moisture, internal contamination, damaged reflectors, or deteriorated components may create a similar appearance.
Before attempting restoration, determine whether the damage is external or internal.
2. Inspect the Headlight Before Cleaning
Park the vehicle in a safe, well-lit location and switch off the lights.
Inspect both headlights for:
- Yellowing or a dull surface.
- Scratches and cracks.
- Moisture or condensation inside the assembly.
- Damaged seals.
- Loose mounting points.
- Uneven light output.
If the lens is cracked or water is entering the assembly, surface cleaning will not solve the underlying problem.
Persistent internal fogging, electrical faults, or damaged reflectors should be assessed professionally.
3. Choose a Suitable Cleaning or Restoration Method
Basic exterior cleaning
If the lens is dirty but not significantly oxidized, a gentle wash with a suitable automotive cleaning product may be enough.
Use a clean microfiber cloth and avoid abrasive household cleaners.
Headlight restoration kit
Some restoration kits include cleaning compounds, abrasives, polishing materials, and protective coatings.
Follow the complete instructions. The process may involve sanding, so masking nearby paint and using the specified sequence are important.
Professional restoration
Professional service may be appropriate for heavily deteriorated lenses, complex assemblies, or cases where the owner is unsure how much material can safely be removed.
A restoration process that removes the damaged surface should also provide suitable UV protection afterward.
4. How to Restore Light Exterior Oxidation
The following is a general outline for a restoration kit designed for plastic headlight lenses. Product instructions take priority.
Step 1: Prepare the vehicle
Park in a shaded, well-ventilated area. Allow the headlights to cool.
Clean the lens and surrounding bodywork. Dry the area before beginning.
Step 2: Protect nearby paint
Apply masking tape around the headlight to protect the paint and trim from abrasive materials.
Make sure the tape does not cover the area being treated.
Step 3: Follow the specified surface preparation
Some kits require wet sanding with progressively finer abrasive grades. Others use a polishing compound without sanding.
Use only the method and materials specified for the kit. Excessive sanding or uneven pressure can permanently damage the lens.
Step 4: Polish the lens
Apply the specified polishing compound with the recommended applicator.
Work evenly and avoid allowing the compound to dry in places where the instructions prohibit it.
Step 5: Clean and dry the surface
Remove residue according to the product directions. The lens should be clean and dry before applying a protective coating.
Step 6: Apply UV protection
Use a protective coating designed for restored plastic headlight lenses.
Skipping this step can allow the surface to deteriorate again more quickly. Follow the curing and handling instructions.
Step 7: Inspect the result
Check both headlights in daylight and at night. If the light output remains poor, have the lighting system inspected.
5. Common Headlight Cleaning Mistakes
- Using household abrasives that can scratch plastic.
- Sanding without protecting nearby paint.
- Using an unsuitable solvent.
- Applying excessive pressure to one area.
- Skipping the final protective coating.
- Treating internal moisture as exterior oxidation.
- Assuming a clearer lens guarantees correct beam alignment.
Avoid polishing the lens while it is hot or while the lighting system is operating.
6. When Should a Headlight Be Replaced?
Restoration may not be appropriate if the lens has deep cracks, severe internal damage, broken mounting points, or damaged reflectors.
Replacement or professional assessment may be necessary when:
- Moisture repeatedly collects inside the assembly.
- The lens is cracked or structurally damaged.
- The reflector surface is deteriorated.
- Electrical components are faulty.
- Light output remains inadequate after exterior restoration.
Headlights are safety-critical equipment. Do not rely on appearance alone to judge whether they work correctly.
7. How to Maintain Clear Headlights
- Wash the lenses regularly with suitable automotive cleaning products.
- Avoid harsh chemicals and abrasive household materials.
- Repair damaged protective coatings when appropriate.
- Park in shaded areas when practical.
- Inspect the headlight seals and mounting points.
- Check beam alignment if lighting performance seems uneven.
Frequently Asked Questions
Can toothpaste clean cloudy headlights?
Household toothpaste is not a reliable substitute for a restoration process designed for automotive plastic. Its abrasive properties and formulation vary, and it may not provide lasting results or UV protection.
Does polishing headlights make them permanently clear?
No. Results depend on the condition of the lens and the restoration method. A suitable protective coating helps reduce renewed surface deterioration, but it does not make the lens permanently immune to UV exposure.
Why is one headlight cloudier than the other?
The headlights may have different exposure, damage, repair history, or manufacturing age. Inspect both sides and check for cracks or moisture.
Can cloudy headlights cause an inspection failure?
Requirements vary by location. A headlight may fail inspection if its condition or light output does not meet local roadworthiness standards. Check the applicable vehicle inspection rules.
Should I clean the inside of a headlight?
Do not open a sealed headlight assembly unless the manufacturer’s service procedure allows it and you have the necessary skills. Internal cleaning may require professional repair.
Final Advice
First determine whether the cloudiness is on the outside or inside of the headlight. Mild surface contamination may only need cleaning, while oxidation may require a suitable restoration process and UV protection.
If the lens is cracked, moisture is trapped inside, or light output remains poor, seek professional assessment. Clear-looking headlights must still produce a safe and correctly aimed beam.