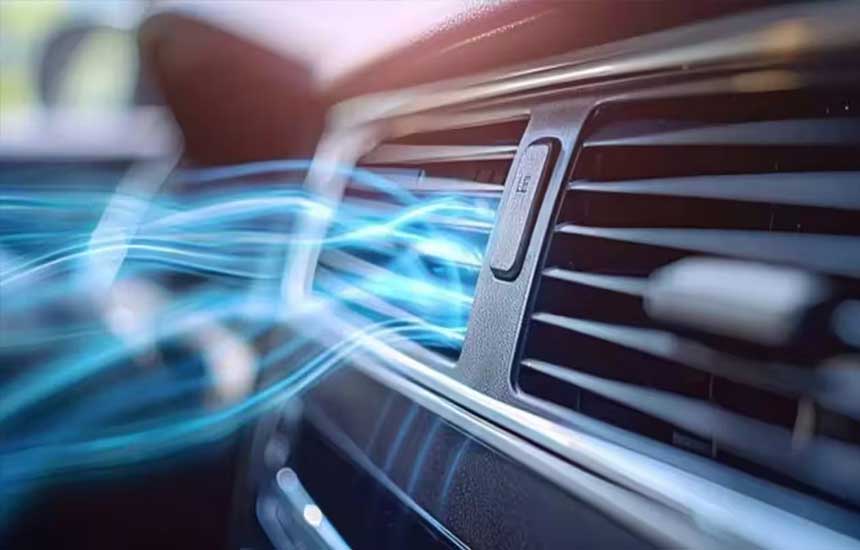


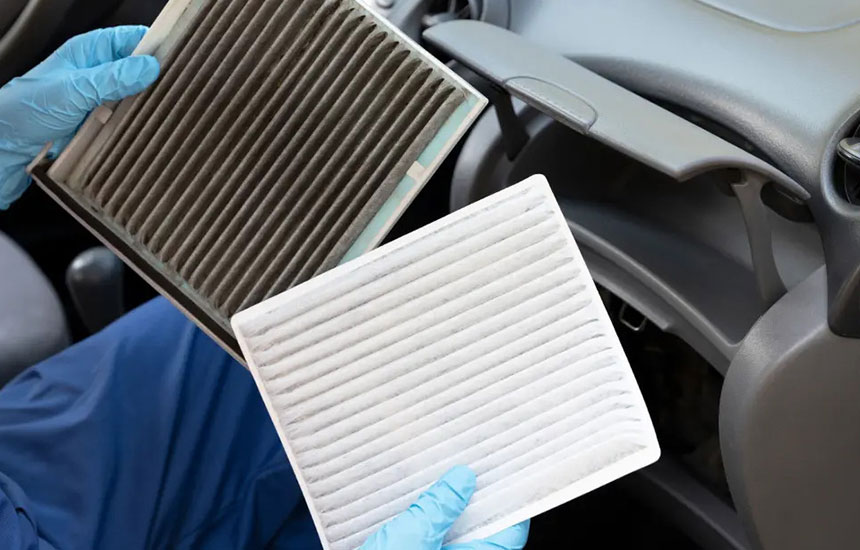
A car cabin air filter helps capture dust, pollen, leaves, and other airborne particles before air enters the passenger compartment through the ventilation system.
Over time, the filter can become clogged. This may reduce airflow from the vents and contribute to unpleasant odors or poor ventilation performance.
Many vehicles allow the cabin air filter to be replaced as a routine maintenance task. However, its location and removal procedure vary by model. This guide explains how to check and replace one safely.
1. What Does a Cabin Air Filter Do?
The cabin air filter is part of the vehicle’s heating, ventilation, and air conditioning system.
Its main functions include:
- Capturing dust and other particles entering through the ventilation intake.
- Helping reduce pollen and airborne debris inside the cabin.
- Protecting parts of the ventilation system from some contaminants.
- Supporting cleaner airflow through the vents.
Some filters use additional materials, such as activated carbon, to help reduce certain odors or gases. Their performance depends on the filter design and the contaminants involved.
A cabin filter is not a substitute for a properly functioning vehicle ventilation system or a complete solution for every type of air pollution.
2. Signs That a Cabin Air Filter May Need Replacing
A dirty filter may cause several noticeable symptoms.
Reduced airflow from the vents
If the fan setting is unchanged but airflow feels weaker, a clogged filter is one possible cause.
However, a faulty blower motor, blocked intake, or other ventilation problem can create similar symptoms.
Musty or unpleasant odors
Debris and moisture trapped in the filter area may contribute to unpleasant smells. Persistent odors can also come from damp carpets, evaporator contamination, or other sources.
Visible dirt and debris
If the filter contains a heavy layer of dust, leaves, or other debris, it may need replacement.
Increased dust inside the cabin
A damaged, poorly fitted, or unsuitable filter may not capture particles effectively. Check the filter condition and its installation.
Do not wait for every symptom to appear. Follow the vehicle manufacturer’s recommended inspection and replacement schedule.
3. Find the Cabin Air Filter Location
Common locations include:
- Behind the glove compartment.
- Under the dashboard on the passenger side.
- In a housing near the windshield or engine-bay air intake.
The owner’s manual is the best starting point. It can identify the filter location, access procedure, and required replacement specification.
Before buying a replacement, confirm the vehicle’s exact model year, engine or trim details where relevant, and the filter dimensions or part specification.
Do not rely only on a general vehicle name because different versions may use different filters.
4. Choose a Compatible Replacement Filter
A replacement filter should match the vehicle’s specified dimensions, shape, sealing arrangement, and airflow requirements.
Common filter types include:
Standard particle filters: Designed to capture dust, pollen, and other particles.
Activated-carbon filters: Include carbon material intended to reduce certain odors and gases.
Specialized multi-layer filters: May combine different filtration materials. Their performance depends on the construction and verified specifications.
When comparing filters, consider:
- Exact vehicle compatibility.
- Filter dimensions and frame shape.
- Airflow direction markings.
- Filtration claims and supporting test information.
- Whether the filter is designed for the vehicle’s ventilation system.
A filter that is too thick, incorrectly shaped, or poorly sealed may restrict airflow or allow unfiltered air to bypass it.
5. How to Replace a Cabin Air Filter
The following procedure is a general guide. Always follow the vehicle-specific instructions.
Step 1: Park the vehicle safely
Park on a level surface, switch off the engine, remove the key or switch off the vehicle as appropriate, and allow the interior to become safe to work in.
Step 2: Locate the filter compartment
Use the owner’s manual to find the filter housing. If it is behind the glove compartment, check whether the compartment must be lowered or removed.
Step 3: Open the access panel
Release the retaining clips or fasteners carefully. Avoid pulling forcefully on plastic parts, which may become brittle with age or temperature changes.
Step 4: Remove the old filter
Slide the filter out slowly. If it is dusty, avoid shaking debris into the cabin.
Notice the direction of the airflow arrow printed on the old filter, but do not assume its orientation is correct. Confirm the direction from the housing markings or vehicle instructions.
Step 5: Inspect the housing
Look for leaves, dust, moisture, damaged seals, or signs of water entering the compartment.
Remove loose debris carefully. Do not push dirt deeper into the ventilation system or use liquids and chemicals unless the vehicle instructions allow them.
If there is standing water, mold, or a persistent damp smell, investigate the underlying cause rather than simply installing a new filter.
Step 6: Install the new filter
Check the airflow direction marking. Align the new filter with the housing and slide it into place without bending or forcing it.
Make sure the filter sits flat and seals correctly.
Step 7: Reinstall the cover
Secure the access panel and any removed glovebox components. Confirm that all clips and fasteners are correctly positioned.
Step 8: Test the ventilation system
Start the vehicle as appropriate and operate the fan at several settings. Listen for unusual noises and check that airflow is normal.
If airflow becomes unusually weak or the cover does not fit properly, switch off the system and inspect the installation.
6. How Often Should You Replace the Filter?
Replacement intervals vary by vehicle and driving environment.
A vehicle driven frequently on dusty roads may need more frequent inspection than one used mainly in clean urban conditions.
Use the maintenance schedule in the owner’s manual as the primary reference. Inspect the filter sooner if airflow decreases or visible contamination is present.
Do not rely on a single universal mileage or time interval for every vehicle.
7. Common Replacement Mistakes
- Buying a filter based only on the vehicle’s make and model without confirming the exact version.
- Installing the filter in the wrong airflow direction.
- Forcing a filter that does not fit the housing.
- Leaving the access cover loose.
- Damaging glovebox clips or retaining tabs.
- Ignoring water leaks or moisture in the filter compartment.
- Assuming a new filter will solve every ventilation odor or airflow problem.
If the fan remains weak after replacement, the issue may involve the blower motor, electrical system, ventilation ducts, intake, or another component.
Frequently Asked Questions
Can I replace a cabin air filter myself?
Many vehicles are designed for straightforward cabin-filter replacement. However, access procedures differ. Check the owner’s manual and avoid removing components you are not confident handling.
What happens if I never replace the cabin air filter?
A heavily clogged filter can restrict airflow and reduce ventilation performance. It may also collect debris and contribute to unpleasant odors.
Does a cabin air filter improve fuel economy?
A cabin air filter is not generally a direct fuel-economy component. A clogged filter mainly affects the cabin ventilation system. Do not assume replacing it will produce a measurable fuel-saving benefit.
Can I clean and reuse a disposable cabin filter?
Most disposable cabin filters are intended to be replaced rather than washed. Cleaning can damage the filter media or reduce its effectiveness. Reusable filters should only be cleaned according to their specific instructions.
Is an activated-carbon filter always better?
Not for every situation. Activated carbon may help reduce certain odors and gases, while the particle filtration and airflow characteristics also matter. Choose according to the vehicle specification and your needs.
Final Advice
Replacing a cabin air filter is often a manageable maintenance task, but the correct filter and installation direction are essential.
Check the vehicle manual, confirm compatibility, inspect the housing, and install the filter without forcing it. If ventilation problems continue, investigate the system rather than repeatedly replacing the filter.